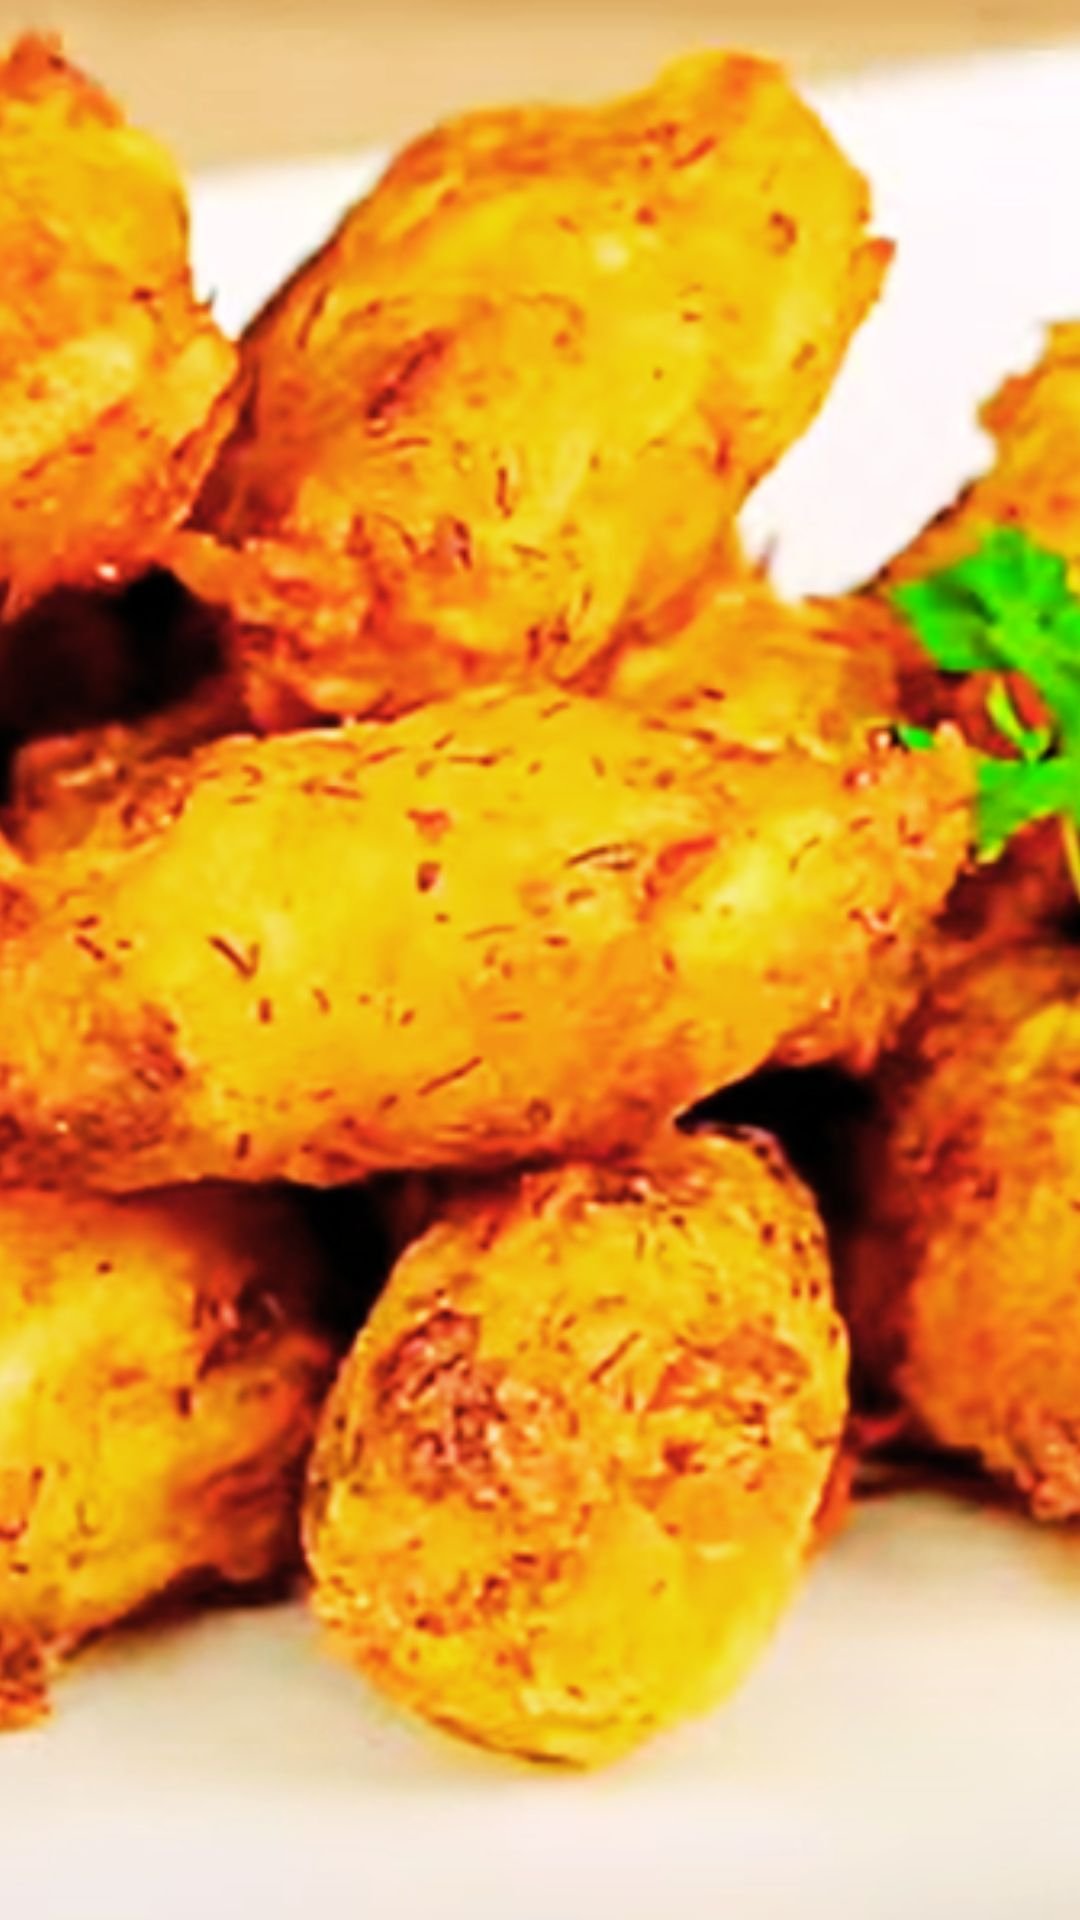
There’s something magical about biting into a perfectly golden, crispy tater tot. That satisfying crunch gives way to fluffy, seasoned potato goodness that instantly transports me back to childhood cafeteria lunches and weekend family dinners. While I love the convenience of frozen tater tots, nothing compares to the satisfaction of making them from scratch in my own kitchen.
I’ve spent countless hours perfecting my homemade tater tot recipe, and I’m excited to share everything I’ve learned with you. From selecting the right potatoes to achieving that perfect golden exterior, I’ll guide you through every step of creating these beloved bite-sized treasures. Whether you’re looking to impress guests at your next gathering or simply want to elevate your weeknight dinner game, mastering homemade tater tots is a skill that will serve you well.
Understanding the Foundation: What Makes Perfect Tater Tots
Tater Tots: Small, cylindrical pieces of shredded potato that are seasoned, formed into bite-sized portions, and deep-fried or baked until golden and crispy on the outside while maintaining a fluffy interior.
Russet Potatoes: The preferred potato variety for tater tots due to their high starch content, which creates the ideal texture when shredded and cooked.
Blanching: A pre-cooking technique where potatoes are briefly boiled before the final cooking process, helping to achieve the perfect texture balance.
The secret to exceptional homemade tater tots lies in understanding the science behind their construction. I’ve discovered that the key is managing moisture content while maximizing surface area for that coveted crispy exterior. The traditional method involves shredding potatoes, but I’ve found that the way you handle them before and after shredding makes all the difference.
When I first started making tater tots at home, I made the common mistake of rushing the process. I quickly learned that patience is essential. The potatoes need time to release excess moisture, and the forming process requires a gentle touch to maintain the right texture. Over the years, I’ve refined my technique to consistently produce tater tots that rival any restaurant version.
Essential Ingredients and Equipment
Core Ingredients
The beauty of homemade tater tots lies in their simplicity. I use just a handful of high-quality ingredients to create something truly special:
- 3 pounds russet potatoes – These high-starch potatoes are non-negotiable for achieving the right texture
- 1 teaspoon salt – Essential for seasoning and helping to draw out moisture
- 1/2 teaspoon black pepper – Adds a subtle warmth that complements the potato flavor
- 1/4 teaspoon garlic powder – Provides depth without overwhelming the potato taste
- 1/4 teaspoon onion powder – Enhances the savory profile
- 2 tablespoons all-purpose flour – Acts as a binding agent to help the tots hold their shape
- 1 large egg – Additional binding power and helps create that golden exterior
- Oil for frying – I prefer peanut or vegetable oil for their high smoke points
Equipment You’ll Need
Having the right tools makes this process much smoother. Here’s what I consider essential:
- Box grater or food processor with shredding attachment – For creating uniform potato shreds
- Large mixing bowl – To combine ingredients without making a mess
- Clean kitchen towels – Critical for removing excess moisture from the potatoes
- Deep fryer or large, heavy-bottomed pot – For safe and effective frying
- Candy thermometer – Ensures oil temperature accuracy
- Slotted spoon or spider – For safely removing tots from hot oil
- Paper towels – For draining excess oil
My Step-by-Step Method for Perfect Tater Tots
Preparing the Potatoes
I start by washing and peeling my russet potatoes thoroughly. The key here is selecting potatoes that are firm and free from green spots or sprouting eyes. I’ve learned that older potatoes actually work better than very fresh ones because they have slightly less moisture content.
Once peeled, I cut the potatoes into manageable chunks before shredding. This makes the shredding process more efficient and helps ensure uniform results. Using a box grater, I shred the potatoes on the largest holes, creating long, thin strips that will form the base of my tater tots.
The Critical Moisture Removal Step
This is where many home cooks go wrong, and I used to be one of them. After shredding, I immediately transfer the potatoes to a large bowl filled with cold water. This prevents oxidation and removes excess starch. I let them soak for about 10 minutes, then drain thoroughly.
The next step is absolutely crucial: removing as much moisture as possible. I spread the shredded potatoes across clean kitchen towels and roll them up tightly. Then I twist the towel ends and squeeze firmly, wringing out every drop of moisture I can. I repeat this process with fresh towels until the potatoes feel relatively dry to the touch.
Seasoning and Binding
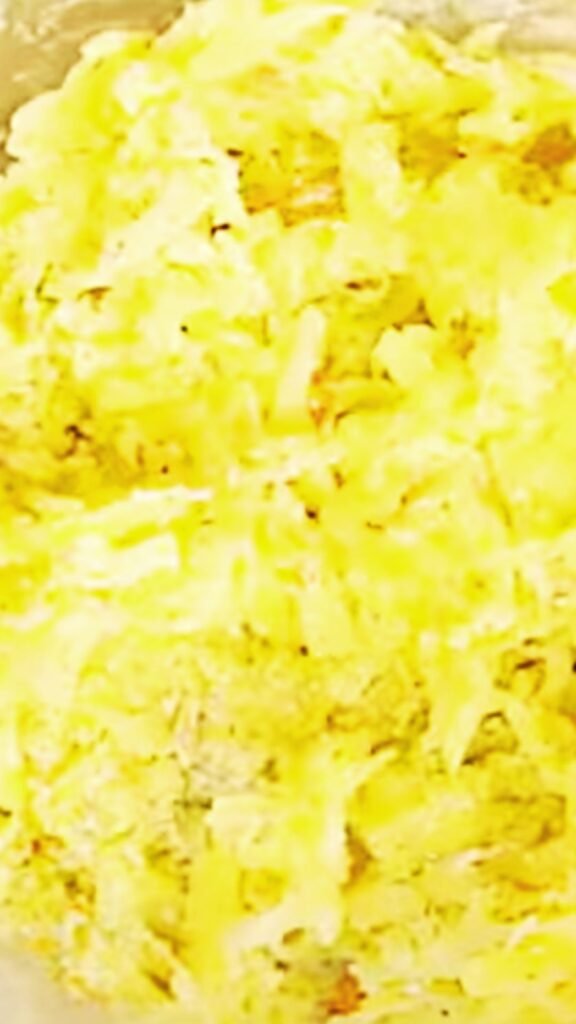
In my large mixing bowl, I combine the dried potato shreds with salt, pepper, garlic powder, and onion powder. I use my hands to toss everything together, ensuring even distribution of the seasonings. The tactile approach helps me gauge the texture and moisture level.
Next, I sprinkle the flour over the seasoned potatoes and toss again. The flour acts as a binder and helps absorb any remaining moisture. Finally, I crack the egg into the mixture and work it in gently with my hands. The goal is to create a mixture that holds together when squeezed but isn’t overly wet or sticky.
Forming the Tots
This is where patience really pays off. I take small handfuls of the mixture – about a tablespoon each – and gently squeeze them in my palm to form a compact ball. Then I roll each ball between my palms to create the classic tater tot shape: a small cylinder with slightly rounded ends.
I place each formed tot on a baking sheet lined with parchment paper. The key is working quickly but gently. If I squeeze too hard, the tots become dense. Too light a touch, and they fall apart during cooking. I’ve found that the mixture should hold together with gentle pressure but still feel light and airy.
Cooking Methods: Achieving Golden Perfection
Deep Frying Method (My Preferred Technique)
I heat my oil to exactly 350°F (175°C) in a heavy-bottomed pot or deep fryer. Temperature control is critical here – too hot and the outside burns before the inside cooks; too cool and the tots absorb too much oil and become greasy.
Working in small batches to avoid overcrowding, I carefully lower the tots into the hot oil using a slotted spoon. I fry them for 3-4 minutes, until they’re golden brown and floating freely. The floating is a good indicator that they’re nearly done.
I remove the tots with a slotted spoon and immediately transfer them to a paper towel-lined plate. While they’re still hot, I season them with a light sprinkle of salt. This helps the seasoning adhere and enhances the flavor.
Baking Method (Healthier Alternative)
For those who prefer a lighter option, baking works well too, though the texture differs slightly from the fried version. I preheat my oven to 425°F (220°C) and line a baking sheet with parchment paper.
I arrange the formed tots on the baking sheet, leaving space between each one for even browning. Before baking, I lightly brush or spray them with oil to promote browning. They bake for 25-30 minutes, turning once halfway through, until golden and crispy.
Air Fryer Method
The air fryer has become my go-to for smaller batches. I preheat it to 380°F (193°C) and lightly spray the basket with cooking spray. The tots cook in about 15-18 minutes, shaking the basket every 5-6 minutes for even browning.
Nutritional Information and Analysis
| Nutritional Component | Per 6-piece Serving (Fried) | Per 6-piece Serving (Baked) | Daily Value % |
|---|---|---|---|
| Calories | 185 | 142 | 7-9% |
| Total Fat | 8.5g | 3.2g | 11-13% |
| Saturated Fat | 1.2g | 0.8g | 4-6% |
| Cholesterol | 18mg | 18mg | 6% |
| Sodium | 245mg | 245mg | 11% |
| Total Carbohydrates | 26g | 26g | 9% |
| Dietary Fiber | 2.8g | 2.8g | 10% |
| Sugars | 1.1g | 1.1g | – |
| Protein | 4.2g | 4.2g | 8% |
| Vitamin C | 8.5mg | 8.5mg | 9% |
| Potassium | 485mg | 485mg | 10% |
The nutritional profile of homemade tater tots compares favorably to their frozen counterparts, especially when you consider the control you have over ingredients and cooking methods. The baked version significantly reduces the calorie and fat content while maintaining most of the nutritional benefits.
Flavor Variations and Creative Twists
Over the years, I’ve experimented with numerous variations that keep this classic interesting. Here are some of my favorite adaptations:
Cheesy Tater Tots: I fold in 1/2 cup of shredded sharp cheddar cheese with the seasonings. The cheese melts during cooking, creating pockets of gooey goodness throughout each tot.
Herb-Crusted Tots: Fresh herbs transform the flavor profile completely. I like using a combination of chopped rosemary, thyme, and chives mixed into the potato mixture before forming.
Spicy Southwest Style: A teaspoon of chili powder, 1/2 teaspoon cumin, and a pinch of cayenne pepper give these tots a southwestern kick that pairs perfectly with ranch dressing or salsa.
Sweet Potato Tots: Substituting sweet potatoes for russets creates a naturally sweeter, more nutritious version. I reduce the salt slightly and add a pinch of cinnamon and nutmeg.
Serving Suggestions and Pairings
Homemade tater tots are incredibly versatile and pair well with numerous dishes and occasions. I’ve served them as appetizers, side dishes, and even incorporated them into main courses.
As Appetizers: I arrange them on a platter with various dipping sauces like ranch, honey mustard, sriracha mayo, or homemade aioli. They disappear quickly at parties and always generate compliments.
Side Dish Pairings: They complement grilled meats beautifully, especially burgers, BBQ chicken, or steak. I often serve them alongside coleslaw and pickles for a complete comfort food experience.
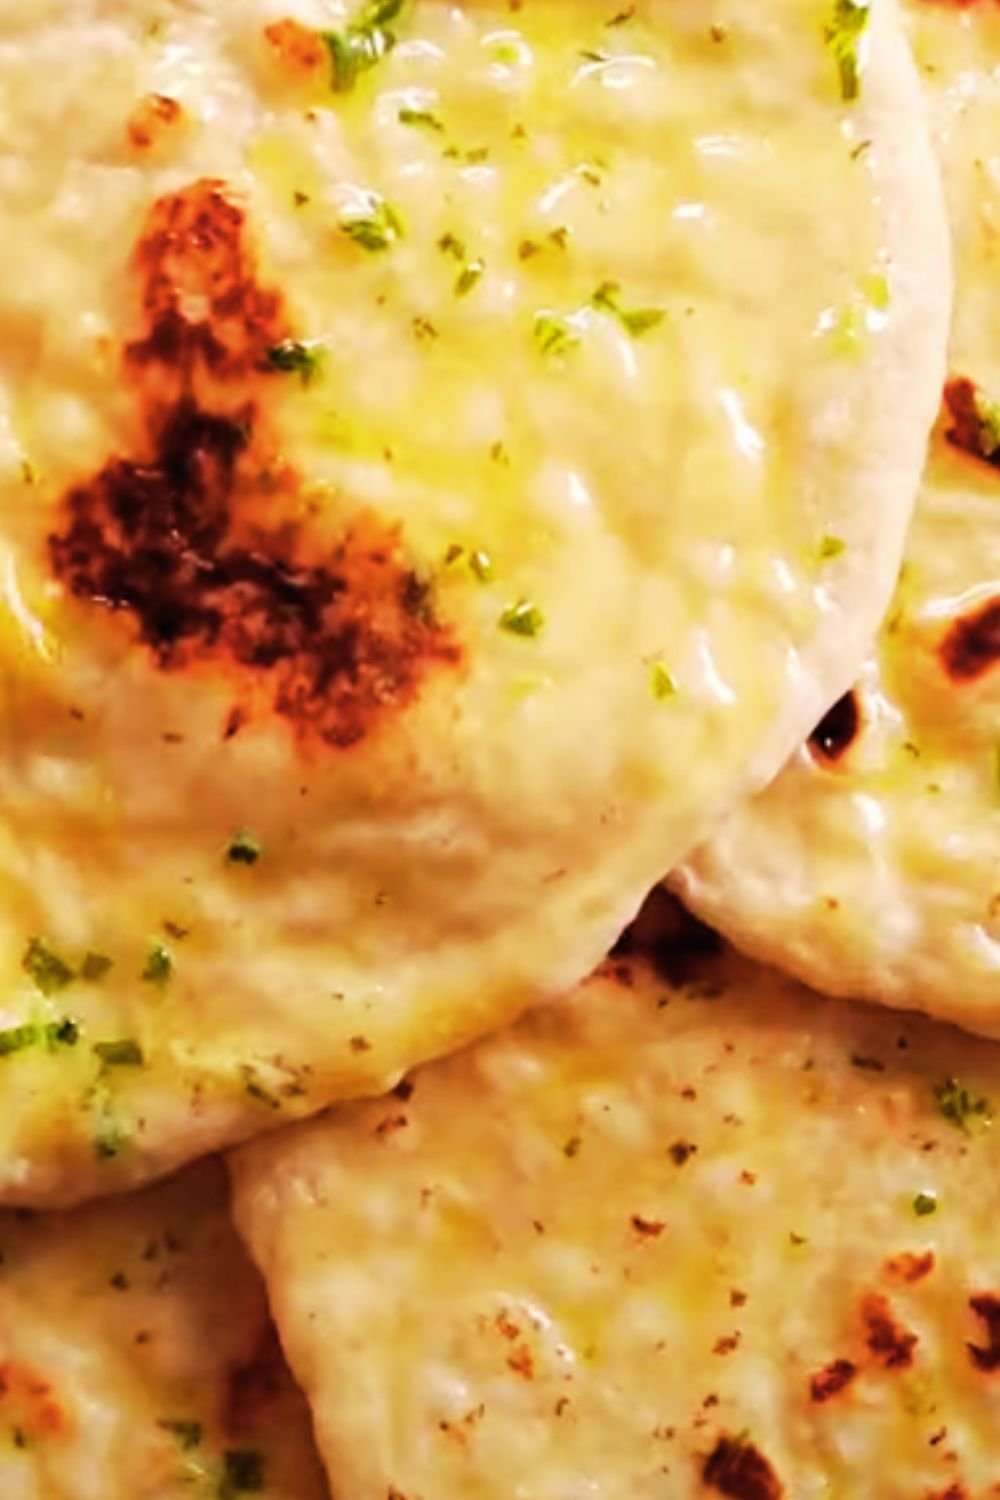
Breakfast Integration: Tater tots make an excellent base for breakfast bowls. I top them with scrambled eggs, cheese, and crispy bacon for a hearty weekend breakfast.
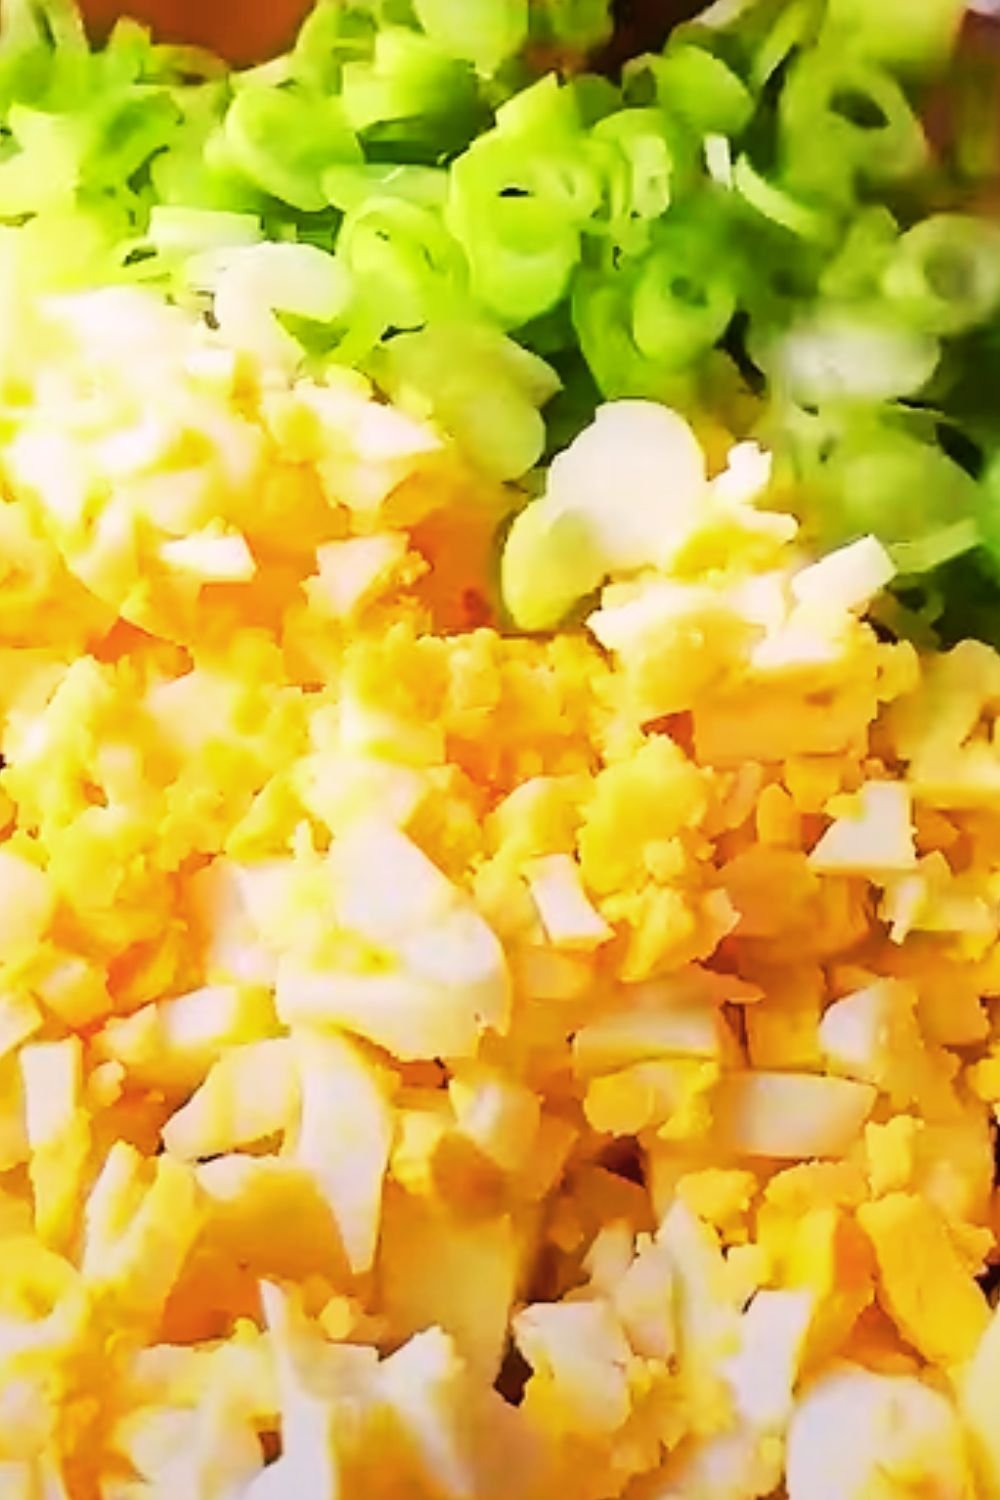
Loaded Tater Tot Variations: I create “loaded” versions by topping baked tots with cheese, bacon bits, green onions, and sour cream – essentially turning them into deconstructed loaded potato skins.
Storage and Reheating Guidelines
| Storage Method | Duration | Quality Notes | Reheating Instructions |
|---|---|---|---|
| Refrigerator (Cooked) | 3-4 days | Texture softens slightly | Oven at 400°F for 8-10 minutes |
| Freezer (Uncooked) | 2-3 months | Best texture preservation | Cook directly from frozen, add 2-3 minutes |
| Freezer (Cooked) | 1-2 months | Some texture loss | Oven at 425°F for 12-15 minutes |
| Room Temperature | 2 hours max | Food safety concern | Not recommended |
I’ve found that freezing the uncooked, formed tots works exceptionally well. I arrange them on a baking sheet, freeze until solid, then transfer to freezer bags. This allows me to cook just the amount I need without waste.
Troubleshooting Common Issues
Problem: Tots fall apart during cooking Solution: Ensure adequate moisture removal and don’t skip the egg binding agent. The mixture should hold together when gently squeezed.
Problem: Greasy, oil-absorbed tots Solution: Check oil temperature – it should be exactly 350°F. Overcrowding the pan also causes temperature drops that lead to oil absorption.
Problem: Uneven browning Solution: Make sure all tots are similar in size and don’t overcrowd the cooking vessel. Turn them gently during baking for even exposure.
Problem: Dense, heavy texture Solution: Don’t overwork the potato mixture, and ensure thorough moisture removal before seasoning and forming.
Advanced Tips for Professional Results
After years of perfecting this recipe, I’ve discovered several professional techniques that elevate homemade tater tots to restaurant quality:
Double-Frying Technique: For extra crispiness, I sometimes fry the tots twice – first at 325°F for 2 minutes, then at 375°F for 1-2 minutes. This creates an incredibly crispy exterior.
Starch Management: Rinsing the shredded potatoes in cold water removes excess starch, which can make tots gummy. However, some starch is necessary for binding, so I don’t over-rinse.
Size Consistency: Using a small cookie scoop helps ensure uniform sizing, which leads to even cooking times and professional presentation.
Oil Quality: I change my frying oil regularly and strain it between uses. Fresh oil produces cleaner flavors and better browning.
Cost Analysis: Homemade vs. Store-Bought
| Cost Factor | Homemade (Per Serving) | Frozen Brand (Per Serving) | Savings |
|---|---|---|---|
| Ingredients | $0.85 | $1.35 | $0.50 |
| Time Investment | 45 minutes prep + cooking | 5 minutes cooking | – |
| Quality Control | Complete | Limited | Invaluable |
| Customization | Unlimited | None | Invaluable |
| Preservatives | None | Multiple additives | Health benefit |
The cost savings become more significant when making larger batches, and the ability to control ingredients and customize flavors adds tremendous value that’s difficult to quantify.
Questions & Answers
Q: Can I make tater tots ahead of time for a party?
I absolutely recommend making them ahead! Form the tots and freeze them on baking sheets, then transfer to freezer bags. Cook directly from frozen, adding just a few extra minutes to the cooking time. This method actually often produces better results because the freezing process helps maintain their shape during cooking.
Q: Why do my homemade tater tots taste bland compared to frozen ones?
Frozen tater tots often contain more sodium and artificial flavor enhancers than my basic recipe. I suggest increasing the salt slightly and experimenting with additional seasonings like garlic powder, onion powder, or even a small amount of chicken bouillon powder mixed into the potato mixture.
Q: What’s the best oil temperature for frying tater tots?
I maintain my oil at exactly 350°F (175°C). This temperature is hot enough to create immediate searing and crispiness without burning the exterior before the interior cooks through. I use a candy thermometer to monitor temperature consistently throughout the frying process.
Q: Can I use different types of potatoes for making tater tots?
While russet potatoes are my preference due to their high starch content, I’ve successfully used Yukon Gold potatoes for a creamier interior texture. I avoid waxy potatoes like red potatoes because they don’t achieve the right texture when shredded and fried.
Q: How do I prevent my tater tots from becoming mushy?
The key is thorough moisture removal. After shredding, I soak them briefly in cold water, then wrap them in clean kitchen towels and squeeze firmly to remove as much water as possible. Excess moisture is the primary culprit behind mushy tater tots.
Q: Is there a way to make tater tots healthier without sacrificing taste?
Baking instead of frying reduces calories significantly. I also experiment with adding finely grated vegetables like carrots or zucchini to boost nutrition. Sweet potato tots are another nutritious alternative that provides additional vitamins and fiber.
Q: How long do homemade tater tots stay crispy after cooking?
Fresh from the oil or oven, they maintain peak crispiness for about 30 minutes. I can restore some crispiness by reheating them in a 400°F oven for 5-8 minutes rather than using a microwave, which makes them soggy.
Q: Can I make gluten-free tater tots?
Yes! I simply substitute the all-purpose flour with rice flour or potato starch. The binding properties work similarly, and the taste difference is negligible. This makes them suitable for guests with gluten sensitivities.
Creating homemade tater tots has become one of my favorite kitchen projects because it combines nostalgia with the satisfaction of mastering a technique. The process requires patience and attention to detail, but the results far exceed anything you can buy frozen. Whether I’m making them for a casual family dinner or an elaborate party spread, they never fail to impress and disappear quickly.
The versatility of this recipe means I never get bored with it. I constantly experiment with new seasonings, cooking methods, and serving suggestions. Each batch teaches me something new about the science of cooking potatoes and the art of achieving that perfect balance between crispy exterior and fluffy interior.
Most importantly, making tater tots from scratch allows me to control every ingredient that goes into my family’s food. I know exactly what we’re eating, and I can adjust seasonings and cooking methods to suit our preferences and dietary needs. In a world of processed convenience foods, this level of control and quality is both rare and valuable.