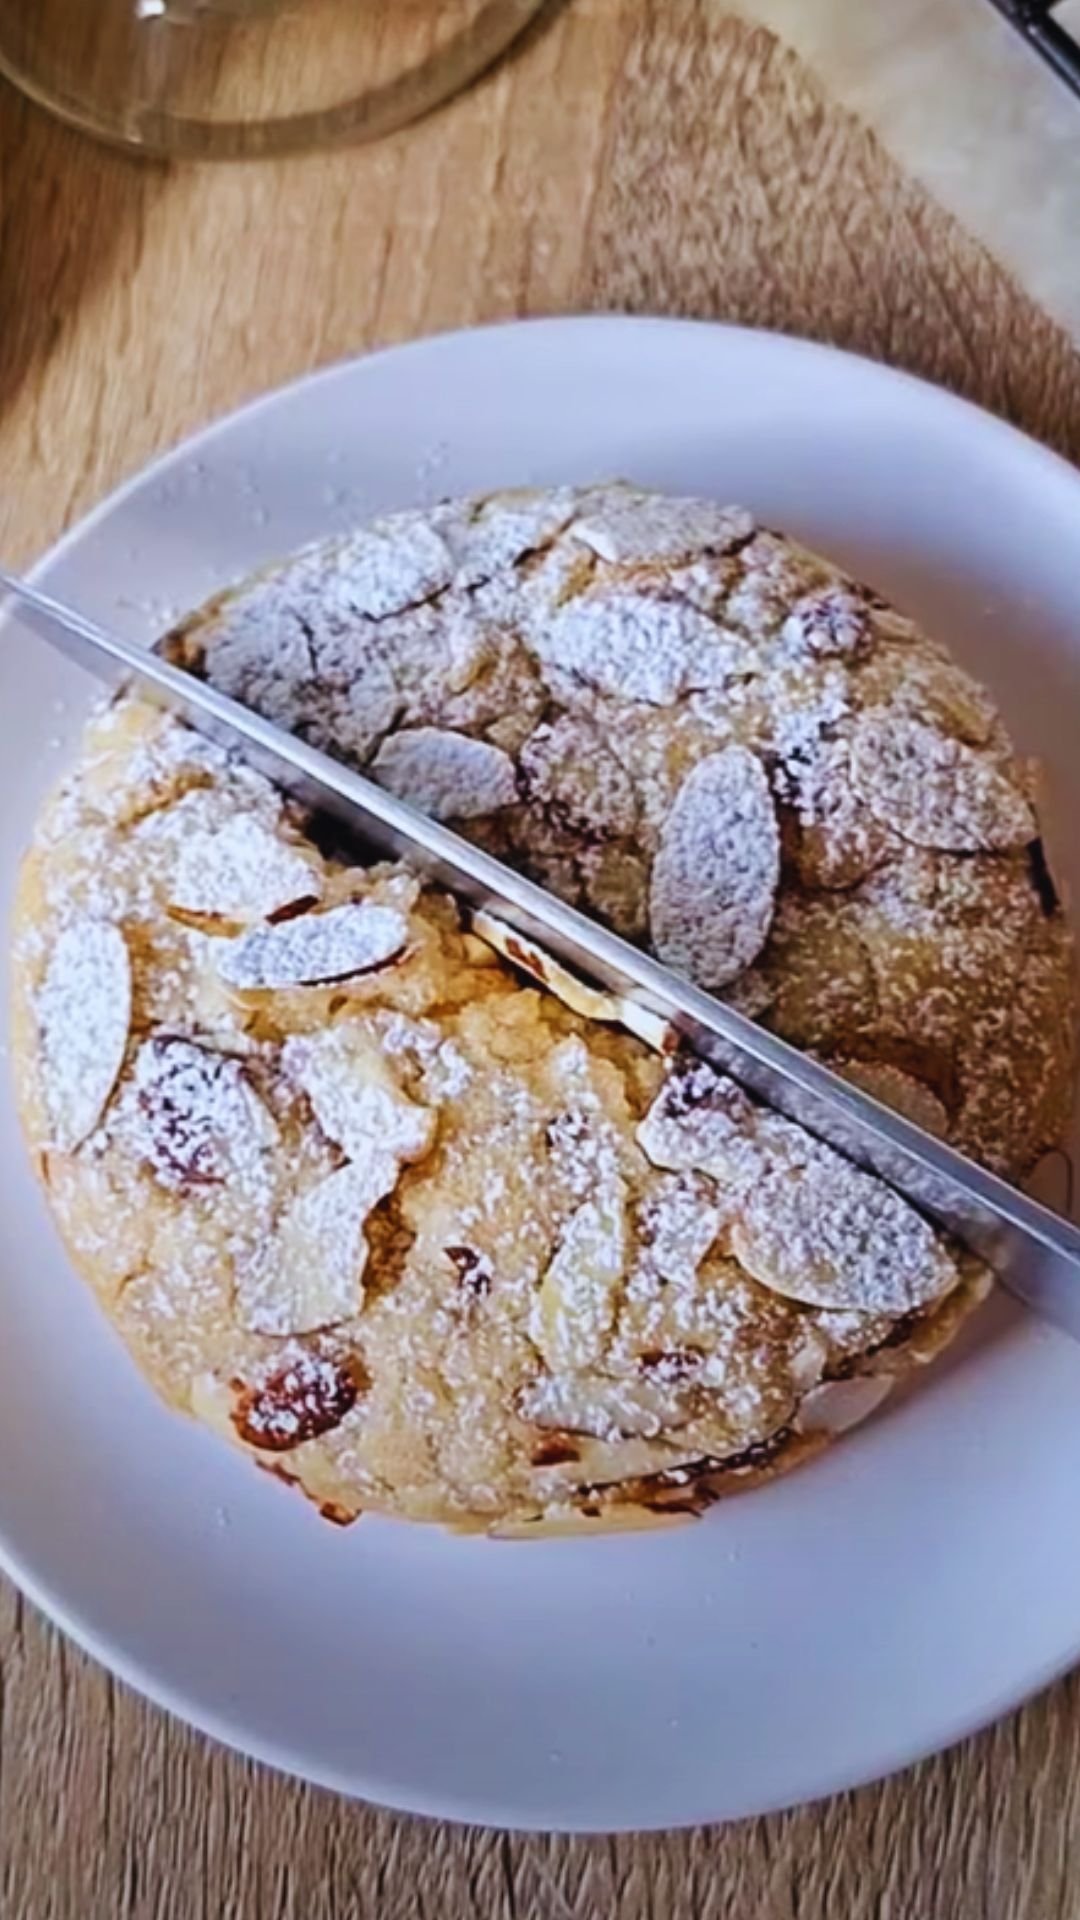
There’s something absolutely magical about the aroma of cinnamon and sugar wafting through the kitchen on a lazy weekend morning. As someone who’s spent countless hours perfecting breakfast pastries, I can tell you that few treats rival the simple pleasure of warm, freshly-baked cinnamon twists. Today, I’m sharing my favorite recipe for Warm Cinnamon Crescent Twists – a delightful breakfast treat that combines the convenience of store-bought crescent dough with the irresistible flavors of a cinnamon roll.
These twists have become a weekend tradition in my home. They’re simple enough that even baking novices can create them with confidence, yet impressive enough to serve when hosting brunch for friends and family. The best part? They require just a handful of ingredients and come together in under 30 minutes.
What Makes These Cinnamon Twists Special
Before we dive into the recipe, let me share what makes these particular cinnamon twists stand out from others you might have tried:
- They use refrigerated crescent roll dough as a shortcut, saving you time without sacrificing flavor
- The cinnamon-sugar mixture includes a hint of nutmeg for depth
- A cream cheese glaze adds the perfect tangy complement to the warm spices
- The twisting technique creates beautiful layers that look impressive but are deceptively simple
- They’re versatile – perfect for breakfast, brunch, snack time, or dessert
Ingredients You’ll Need
Let’s gather everything we need before we begin. One of the joys of this recipe is its simplicity – you likely have most of these ingredients in your pantry already!
For the Twists:
- 2 cans (8 oz each) refrigerated crescent roll dough
- 4 tablespoons unsalted butter, softened to room temperature
- 2/3 cup granulated sugar
- 2 tablespoons ground cinnamon
- 1/4 teaspoon ground nutmeg
- 1/8 teaspoon salt
- 1 teaspoon pure vanilla extract
For the Cream Cheese Glaze:
- 4 oz cream cheese, softened
- 1 cup powdered sugar
- 3-4 tablespoons milk
- 1/2 teaspoon pure vanilla extract
- Pinch of salt

Equipment Needed
Having the right tools on hand will make this process even smoother:
- Large baking sheet
- Parchment paper or silicone baking mat
- Small mixing bowl for cinnamon mixture
- Medium mixing bowl for glaze
- Pastry brush
- Knife or pizza cutter
- Wire cooling rack
- Whisk or electric mixer for glaze
- Measuring cups and spoons
Nutritional Information
Before we start baking, let’s take a look at the nutritional profile of these delicious treats. Each twist contains approximately:
| Nutrient | Amount per Serving |
|---|---|
| Calories | 285 |
| Total Fat | 14g |
| Saturated Fat | 7g |
| Cholesterol | 25mg |
| Sodium | 350mg |
| Total Carbohydrates | 38g |
| Dietary Fiber | <1g |
| Sugars | 22g |
| Protein | 3g |
| Calcium | 20mg |
| Iron | 1mg |
Note: Nutritional values are approximate and may vary based on specific brands of ingredients used.
Step-by-Step Instructions
Now let’s get to the fun part – making these delicious cinnamon twists!
Preparation
- Preheat your oven to 375°F (190°C).
- Line a large baking sheet with parchment paper or a silicone baking mat.
- In a small bowl, mix together the granulated sugar, cinnamon, nutmeg, and salt until well combined. Set aside.
Creating the Twists
- Unroll the crescent dough sheets onto a clean, lightly floured surface. If using perforated crescent roll dough, gently press the perforations together to seal them.
- Use your hands or a rolling pin to gently flatten and slightly stretch each rectangle.
- Spread 2 tablespoons of softened butter evenly over each rectangle of dough.
- Sprinkle the cinnamon-sugar mixture generously over the buttered dough, leaving about a 1/4-inch border around the edges.
- Drizzle 1/2 teaspoon of vanilla extract over each rectangle, distributing it as evenly as possible.

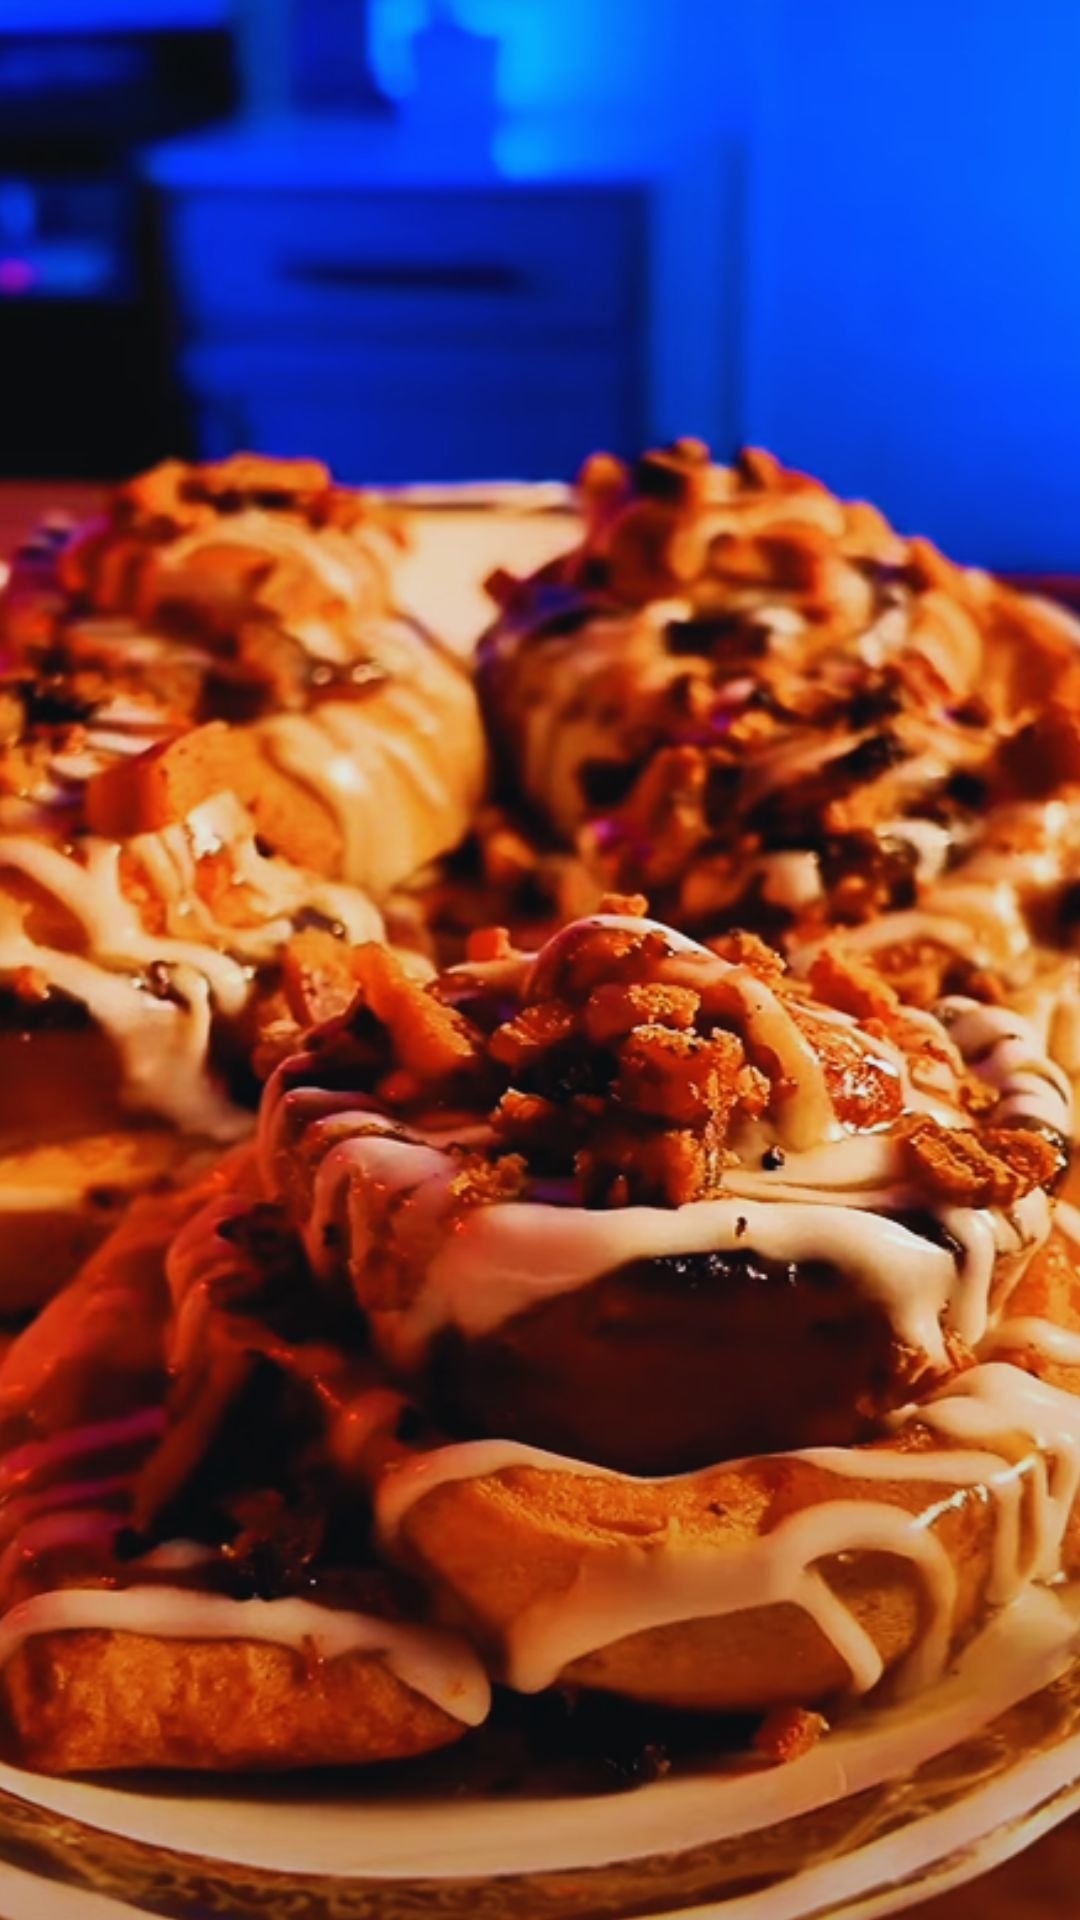
The Twisting Technique (This Makes All the Difference!)
- Starting from the long edge, tightly roll up each rectangle of dough (like you’re making cinnamon rolls).
- Gently press the seam to seal.
- Using a sharp knife or pizza cutter, cut each roll lengthwise down the middle, creating two long strips with layers exposed.
- Carefully twist each strip several times, keeping the cut sides facing up to expose those beautiful cinnamon layers.
- Cut each twisted strip into 4-inch segments.
- Transfer the twists to your prepared baking sheet, spacing them about 2 inches apart.
Here’s a detailed breakdown of the twisting technique that makes these pastries so special:
| Step | Description | Tips for Success |
|---|---|---|
| 1. Rolling | Roll dough tightly from long edge | Keep tension even throughout the roll |
| 2. Cutting | Slice lengthwise through the center | Use a very sharp knife for clean cuts |
| 3. Twisting | Twist strips while keeping cut side up | Twist gently to avoid breaking dough |
| 4. Shaping | Form into “S” shapes or leave as twists | Pinch ends to prevent unraveling |
| 5. Arranging | Place on baking sheet with space between | Allow room for expansion during baking |
Baking to Perfection
- Bake in the preheated oven for 12-15 minutes, or until the twists are golden brown.
- While the twists are baking, prepare the cream cheese glaze.
- Remove from the oven and let cool on the baking sheet for 5 minutes before transferring to a wire rack.
Preparing the Cream Cheese Glaze
- In a medium bowl, beat the softened cream cheese until smooth.
- Gradually add the powdered sugar, mixing until well incorporated.
- Add vanilla extract and a pinch of salt.
- Slowly add milk, one tablespoon at a time, until the glaze reaches your desired consistency. For a thicker glaze, use less milk; for a thinner, more pourable glaze, add a bit more.
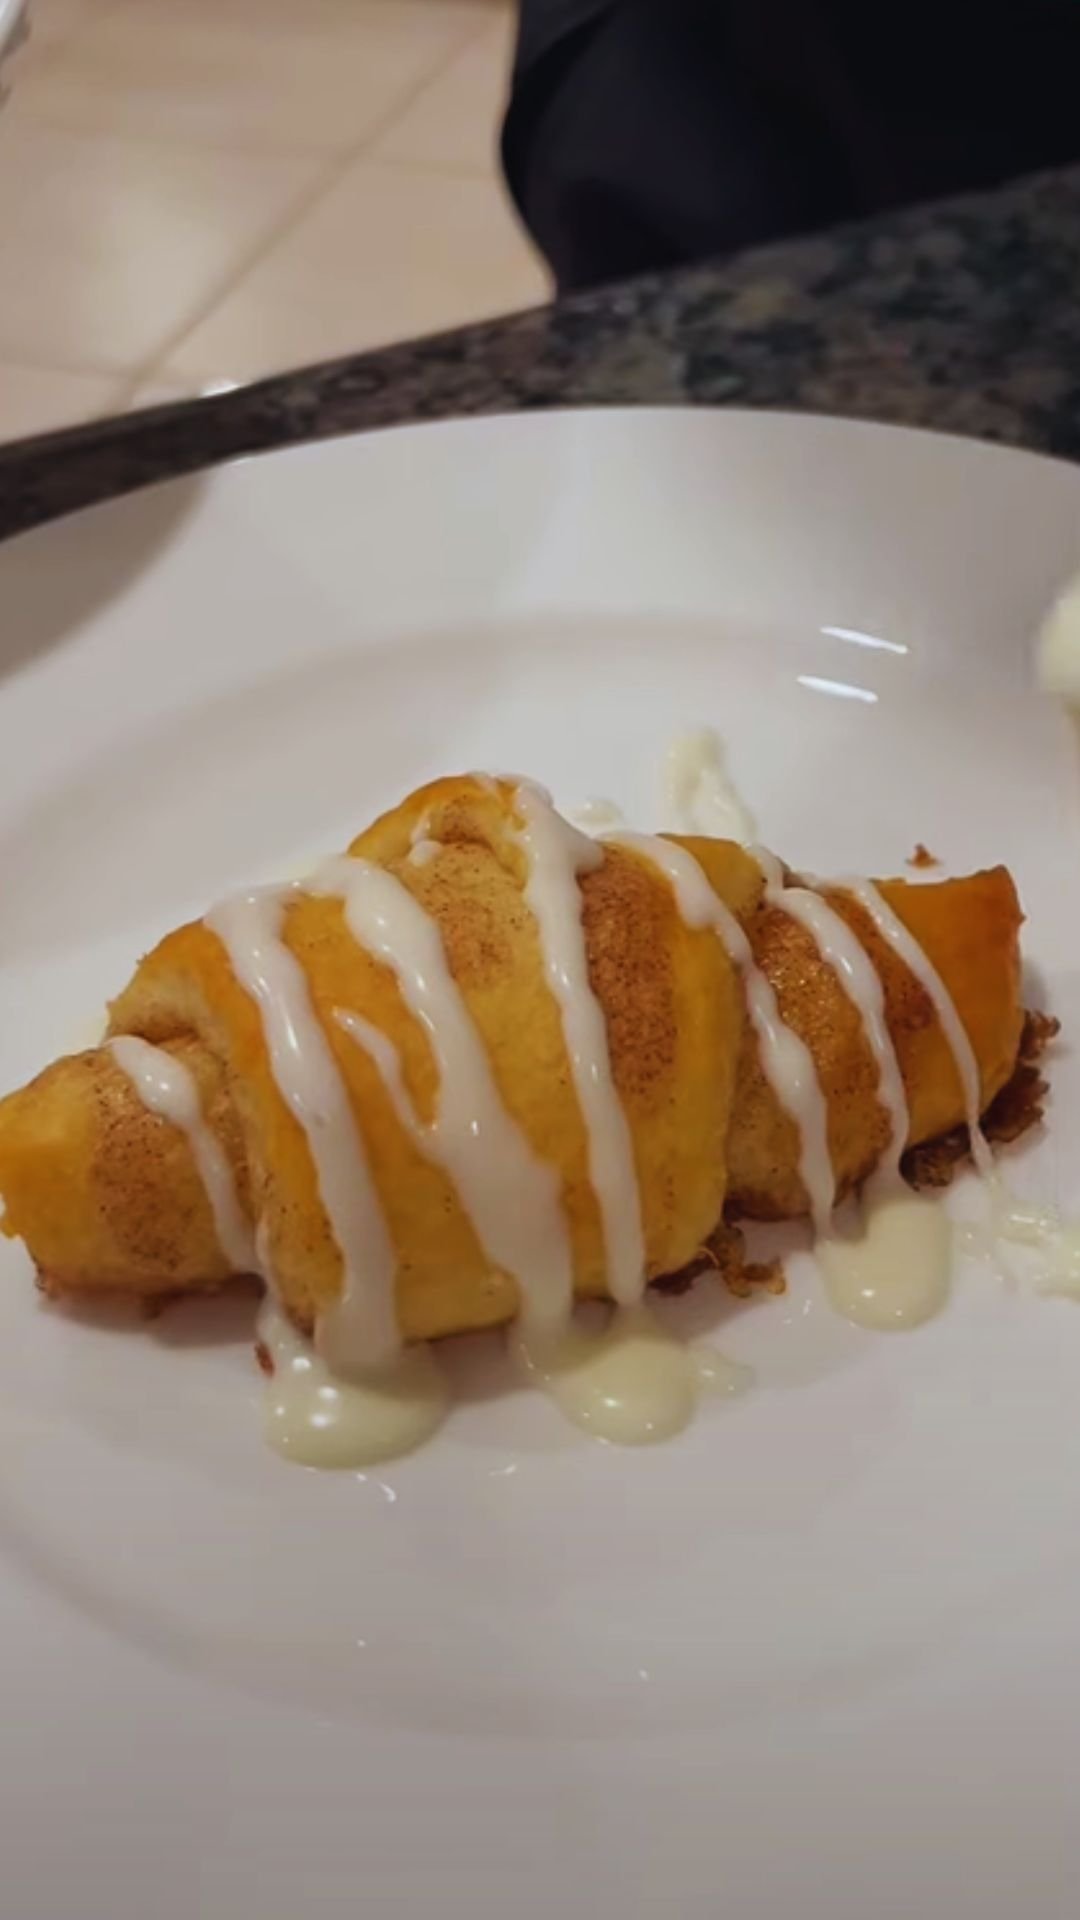
Finishing Touches
- Once the twists have cooled slightly but are still warm, drizzle the cream cheese glaze generously over the top.
- Serve immediately while still warm for the most heavenly experience!
Expert Baking Tips
After making these countless times, I’ve picked up some tricks that make a significant difference:
- Cold dough works best: If your kitchen is warm or the dough feels too soft, refrigerate it for 10-15 minutes before cutting and twisting.
- Don’t skimp on the butter: The butter creates that moist, melt-in-your-mouth texture that makes these twists irresistible.
- Watch carefully while baking: Ovens vary, and these can go from perfectly golden to over-browned quickly. Start checking at the 10-minute mark.
- The perfect glaze consistency: The glaze should coat the back of a spoon but still drip off slowly. Too thick, and it won’t distribute well; too thin, and it will run right off the twists.
- Customize your spices: Feel free to add a dash of cardamom, ginger, or even pumpkin pie spice to the cinnamon mixture for seasonal variations.
Common Troubleshooting
Even experienced bakers encounter issues sometimes. Here are solutions to common problems:
| Problem | Possible Cause | Solution |
|---|---|---|
| Dough is too sticky to work with | Room temperature too warm | Chill dough for 15 minutes before handling |
| Filling leaks out during baking | Too much butter or filling not spread evenly | Use slightly less butter and spread filling more evenly |
| Twists unravel during baking | Not enough pressure when sealing | Pinch ends firmly and place seam-side down |
| Glaze is too thick | Not enough liquid | Add milk 1/2 teaspoon at a time until desired consistency |
| Glaze is too thin | Too much liquid | Add more powdered sugar gradually |
| Twists are doughy in center | Undercooked | Extend baking time by 2-3 minutes |
| Twists are too dark | Overcooked or oven runs hot | Reduce temperature by 25°F next time |
Storage and Make-Ahead Options
These cinnamon twists are best enjoyed fresh from the oven, but I understand the need for make-ahead options:
- Same day: Store at room temperature in an airtight container for up to 8 hours. Reheat in microwave for 10-15 seconds if desired.
- Next day: Store in an airtight container for up to 2 days. Reheat in a 300°F oven for 3-5 minutes to restore some crispness.
- Make ahead: Prepare the twists up to the point of baking, then refrigerate for up to 24 hours. Allow to come to room temperature for 20 minutes before baking.
- Freezing: Baked and cooled twists can be frozen without glaze for up to 1 month. Thaw at room temperature and warm in a 300°F oven for 5-7 minutes, then add fresh glaze.
Serving Suggestions
These versatile treats can be enjoyed in numerous ways:
- Serve alongside fresh fruit for a complete breakfast
- Pair with a hot cup of coffee or tea for an afternoon pick-me-up
- Create a delightful brunch spread with scrambled eggs and crispy bacon
- Serve warm with a scoop of vanilla ice cream for an indulgent dessert
- Arrange on a platter with other pastries for holiday breakfasts or special occasions

Variations to Try
Once you’ve mastered the basic recipe, try these delicious variations:
Apple Cinnamon Twists
Add 1/2 cup of finely diced apples tossed with a bit of lemon juice to the filling. The moisture from the apples creates pockets of juicy goodness throughout the twists.
Orange Cranberry Twists
Add 1 tablespoon of orange zest to the dough and replace half the cinnamon with dried cranberries that have been finely chopped. Substitute orange juice for milk in the glaze for a citrusy finish.
Chocolate Hazelnut Twists
Replace the cinnamon-sugar filling with 1/2 cup of chocolate hazelnut spread. After baking, drizzle with a simple powdered sugar glaze and sprinkle with chopped hazelnuts.
Savory Herb and Cheese Twists
For a completely different direction, omit the sugar and cinnamon and instead spread the dough with a mixture of softened butter, garlic powder, Italian herbs, and grated Parmesan cheese.
A Note on Ingredients
While this recipe is fairly straightforward, there are a few ingredients worth discussing in more detail:
- Crescent Roll Dough: Look for the “sheet” version without perforations if available. If you can only find the perforated version, that’s perfectly fine – just press those perforations together well.
- Butter: Unsalted butter gives you better control over the final flavor, but salted butter works in a pinch – just omit the added salt in the filling.
- Cinnamon: Not all cinnamon is created equal. Ceylon cinnamon has a milder, more complex flavor, while Cassia cinnamon (the type most commonly found in supermarkets) has a stronger, spicier profile. Either works beautifully in this recipe.
- Vanilla Extract: Pure vanilla extract rather than imitation makes a noticeable difference in both the filling and the glaze.
- Cream Cheese: Full-fat cream cheese produces the richest glaze, but reduced-fat versions can be substituted if preferred.
The Science Behind Perfect Cinnamon Twists
Understanding a bit about the science of baking can help you achieve the perfect texture:
- The Cold Butter Effect: Starting with properly softened (but not melted) butter allows it to spread easily while still maintaining distinct layers in the final product.
- Sugar Crystallization: The granulated sugar in the filling creates those delightful crunchy bits that contrast with the soft dough.
- Proper Rising: The brief rest time after twisting allows the dough to relax, which results in a lighter, fluffier texture after baking.
Q&A Section
Q: Can I make these cinnamon twists with homemade dough instead of store-bought? Absolutely! If you have a favorite sweet dough recipe, feel free to substitute it. You’ll want about 1 pound of dough total. Just roll it out to the same approximate size as two crescent dough sheets.
Q: My cream cheese glaze is lumpy. What did I do wrong? The most common cause of lumpy glaze is cream cheese that isn’t soft enough. Make sure it’s at room temperature before mixing. If you’re in a hurry, you can microwave it for 10-15 seconds to soften it, then mix thoroughly with a whisk or electric mixer before adding other ingredients.
Q: Can I make these twists dairy-free? Yes! Substitute plant-based butter and cream cheese alternatives. The texture will be slightly different, but the results can still be delicious. Just be sure to check that your crescent roll dough is also dairy-free (some brands contain butter).
Q: How do I know when the twists are done baking? The twists should be golden brown on top and feel set when gently pressed. If you’re uncertain, you can carefully lift one twist to check that the bottom is also light golden brown, not pale or doughy.
Q: Can I add nuts to this recipe? Definitely! Finely chopped pecans, walnuts, or almonds make excellent additions to the filling. Sprinkle about 1/3 cup of chopped nuts over the cinnamon-sugar mixture before rolling up the dough.
Q: My twists unraveled during baking. How can I prevent this? Make sure to pinch the ends of each twist firmly before baking. You can also try placing them seam-side down on the baking sheet to help hold them together.
Q: Can I prepare these the night before and bake in the morning? Yes, but with a slight modification. Prepare the twists up to the point of baking, then cover tightly and refrigerate overnight. In the morning, let them sit at room temperature for about 20 minutes while your oven preheats, then bake as directed, possibly adding 1-2 extra minutes to the baking time.
Q: What’s the best way to reheat leftover twists? For the best texture, reheat in a 300°F oven for 3-5 minutes. Microwaving for 10-15 seconds works in a pinch but may make them slightly soggy.
Final Thoughts
There’s something deeply satisfying about creating these Warm Cinnamon Crescent Twists. Perhaps it’s the way the house fills with that intoxicating cinnamon aroma, or maybe it’s the joy on people’s faces when they take that first bite of warm, gooey pastry. Whatever the reason, these twists have become a staple in my baking repertoire.
What I love most about this recipe is its versatility and forgiveness. Even if your twists don’t look picture-perfect (and honestly, mine don’t always either!), they’ll still taste absolutely delicious. The beauty of homemade treats lies in their uniqueness – each twist tells the story of the hands that made it.
I hope this recipe brings as much joy to your kitchen as it has to mine. There’s nothing quite like gathering around a plate of warm cinnamon twists on a weekend morning, creating memories that will linger long after the last crumb is gone.
Happy baking!