Have you ever experienced that magical moment when the aroma of freshly baked garlic bread fills your kitchen? That heavenly scent that makes everyone suddenly appear from different corners of the house, asking “What’s cooking?” Well, get ready to create that same excitement but with a cheesy, buttery twist that will have your family and friends begging for the recipe!
I’ve been experimenting with quick appetizers for years, and I can confidently say that these Pillsbury Biscuit Garlic Butter Cheese Bombs are my crowning achievement. They combine the convenience of refrigerated biscuit dough with the irresistible flavors of garlic, butter, and melted cheese to create bite-sized morsels of pure bliss that disappear from the plate in minutes.
The best part? These little flavor bombs take just 20 minutes from start to finish, making them perfect for last-minute gatherings, game day snacks, or whenever you need to satisfy those savory cravings without spending hours in the kitchen.
What Makes These Cheese Bombs So Special?
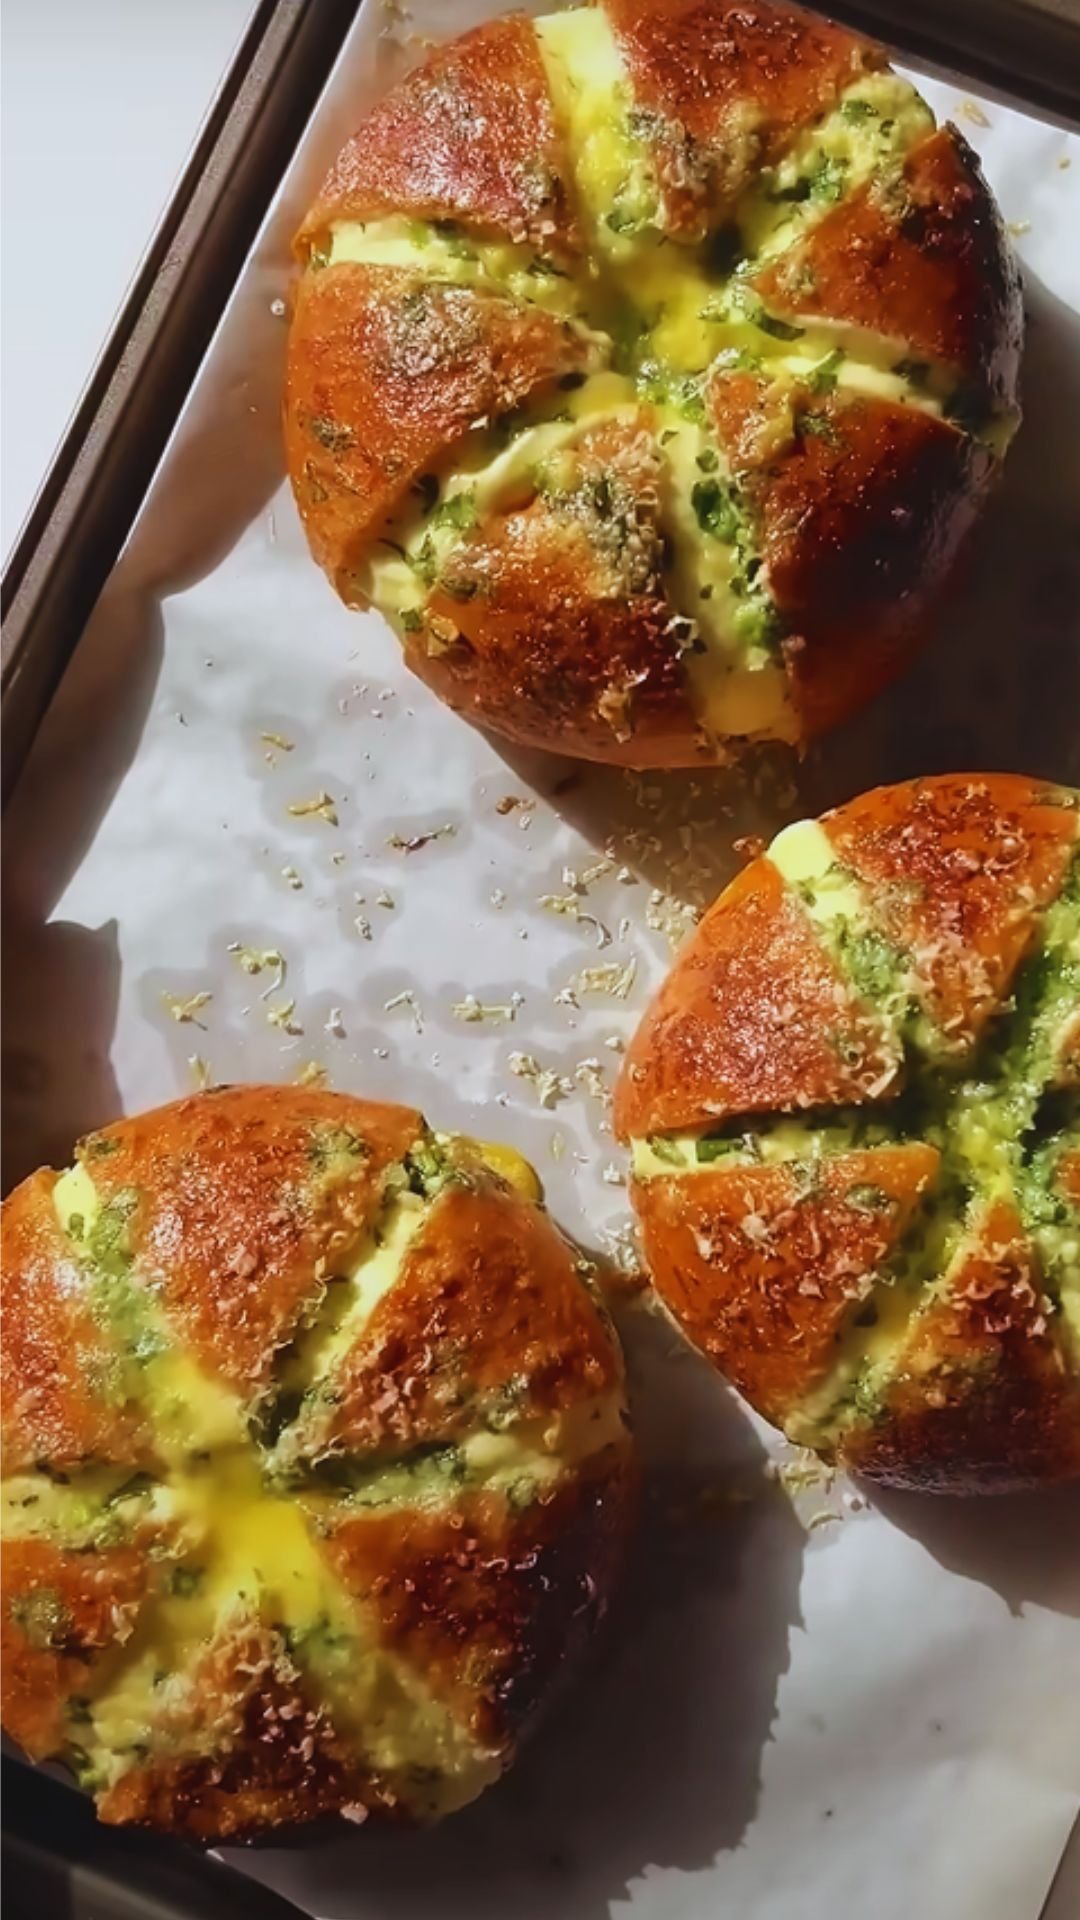
What sets these cheese bombs apart is the perfect harmony of textures and flavors. The exterior develops a beautiful golden-brown crust while the inside remains soft and fluffy. When you take that first bite, the gooey, melted cheese center oozes out, mingling with the aromatic garlic butter coating, creating a flavor experience that’s nothing short of divine.
I’ve served these at countless gatherings, and they never fail to impress. From casual family movie nights to sophisticated dinner parties, these versatile little treats have earned their place as my go-to crowd-pleaser.
Ingredients You’ll Need
For these incredible cheese bombs, you’ll need just a handful of simple ingredients that you probably already have in your kitchen:
| Ingredient | Quantity | Notes |
|---|---|---|
| Pillsbury Grands Flaky Layers Refrigerated Biscuits | 1 can (8 count) | Original works best, but butter flavor is also great |
| Mozzarella cheese | 4 oz | Cut into 8 equal cubes (about ½-inch each) |
| Unsalted butter | 4 tablespoons | Melted |
| Fresh garlic | 3 cloves | Minced (about 1 tablespoon) |
| Italian seasoning | 1 teaspoon | Store-bought blend or make your own |
| Parmesan cheese | 2 tablespoons | Freshly grated for best flavor |
| Fresh parsley | 1 tablespoon | Finely chopped, for garnish |
| Salt | ¼ teaspoon | Fine sea salt works best |
| Red pepper flakes | ⅛ teaspoon | Optional, for a subtle heat |
Kitchen Tools Required
To make this process smooth and enjoyable, gather these basic kitchen tools:
- Baking sheet
- Parchment paper or silicone baking mat
- Small mixing bowl
- Pastry brush
- Measuring spoons
- Knife
- Cutting board
Step-by-Step Instructions

Preparation Phase
- Preheat your oven to 375°F (190°C) to ensure it’s properly heated when your cheese bombs are ready to bake.
- Line your baking sheet with parchment paper or a silicone baking mat to prevent sticking and make cleanup easier.
- Open the can of Pillsbury biscuits and separate them on a clean work surface.
- Cut the mozzarella cheese into 8 equal cubes, roughly ½-inch each.
- In a small bowl, combine the melted butter, minced garlic, Italian seasoning, grated Parmesan, salt, and red pepper flakes (if using). Mix thoroughly to create your garlic butter mixture.
Assembly Process
- Take one biscuit and gently flatten it with your palm until it’s about 4 inches in diameter. Be careful not to create any holes or thin spots.
- Place a cube of mozzarella in the center of the flattened biscuit.
- Carefully fold the edges of the biscuit up and around the cheese, making sure to completely seal the cheese inside.
- Roll the biscuit between your palms to form a ball shape, ensuring there are no openings where cheese could leak out.
- Repeat this process with the remaining biscuits and cheese cubes.
- Place the formed balls on your prepared baking sheet, spacing them about 2 inches apart.
Baking Instructions
- Using your pastry brush, generously coat each cheese-filled ball with the garlic butter mixture, making sure to cover all sides.
- Place the baking sheet in the preheated oven and bake for 11-14 minutes, or until the biscuits are golden brown.
- While still hot from the oven, brush the cheese bombs with any remaining garlic butter mixture for an extra flavor boost.
- Sprinkle with fresh chopped parsley for a pop of color and freshness.
Troubleshooting Common Issues
Even with such a simple recipe, you might encounter a few challenges. Here’s how to overcome them:
| Issue | Cause | Solution |
|---|---|---|
| Cheese leaking out during baking | Inadequate sealing of biscuit dough | Ensure all seams are firmly pressed together and roll the ball between your palms to create a smooth, sealed surface |
| Undercooked centers | Oven temperature too high or baking time too short | Lower oven temperature by 25°F and extend baking time by 2-3 minutes |
| Too much browning before center is cooked | Oven temperature too high | Cover partially with aluminum foil after the first 7-8 minutes of baking |
| Garlic burns or tastes bitter | Garlic pieces too large or butter applied too early | Mince garlic very finely and apply butter mixture halfway through baking |
| Bombs stick to the baking sheet | No parchment paper or insufficient greasing | Always use parchment paper or a silicone mat, or grease the baking sheet generously |
Delicious Variations to Try
One of the things I love most about this recipe is how versatile it is. Here are some exciting variations I’ve tried and loved:
Cheese Variations
- Italian Dream: Replace mozzarella with a combination of provolone and fontina cheese for a more complex flavor profile.
- Spicy Kick: Use pepper jack cheese and add a dash of cayenne to the butter mixture for heat-lovers.
- Mediterranean Style: Combine feta and mozzarella with some chopped olives and sun-dried tomatoes for a Greek-inspired twist.
- American Classic: Use cheddar cheese and add crumbled bacon bits to the butter mixture for a crowd-pleasing favorite.
Filling Enhancements
- Pepperoni Surprise: Add a small piece of pepperoni alongside the cheese for pizza-inspired bombs.
- Spinach & Artichoke: Mix a small amount of drained, chopped spinach and artichoke hearts with the cheese.
- Buffalo Chicken: Combine shredded rotisserie chicken with a touch of buffalo sauce before adding the cheese.
- Jalapeño Popper: Add a thin slice of jalapeño with the cheese for a spicy surprise.
Coating Alternatives
- Everything Bagel: Brush with butter and sprinkle with everything bagel seasoning before baking.
- Herb Garden: Add fresh herbs like rosemary, thyme, and basil to the butter mixture.
- Truffle Luxury: Add a few drops of truffle oil to the butter mixture for an elegant touch.
- Ranch Lovers: Mix dry ranch seasoning into the butter for a tangy twist.
Make-Ahead and Storage Tips

I often prepare these in advance for gatherings, and they maintain their deliciousness remarkably well. Here’s how to store them properly:
Make-Ahead Options
- Unbaked: Assemble the cheese bombs, place them on a baking sheet, cover with plastic wrap, and refrigerate for up to 24 hours. When ready to bake, brush with the garlic butter mixture and proceed as directed, adding 2-3 minutes to the baking time.
- Partially Baked: Bake the cheese bombs for 7-8 minutes, cool completely, and refrigerate. When ready to serve, brush with garlic butter and bake for another 5-6 minutes until golden and heated through.
Storage Solutions
| Storage Method | Temperature | Duration | Reheating Instructions |
|---|---|---|---|
| Refrigerator | 35-40°F (1-4°C) | 3-4 days | Wrap in foil and heat in a 350°F (175°C) oven for 5-7 minutes |
| Freezer (unbaked) | 0°F (-18°C) | Up to 1 month | Thaw overnight in refrigerator, then bake as directed (adding 3-4 minutes to baking time) |
| Freezer (baked) | 0°F (-18°C) | Up to 2 months | Thaw overnight in refrigerator, wrap in foil, and heat in a 350°F (175°C) oven for 8-10 minutes |
Serving Suggestions
These cheese bombs are incredibly versatile when it comes to serving. Here are some of my favorite ways to incorporate them into meals:
As an Appetizer
- Arrange on a wooden board with marinara or ranch dipping sauce.
- Serve alongside antipasto skewers for an Italian-inspired starter.
- Include in a game day spread with wings, dips, and veggies.
As a Side Dish
- Pair with a hearty soup or stew instead of traditional bread.
- Serve alongside pasta dishes for an elevated Italian meal.
- Add to a salad-centered meal for satisfying substance.
As Part of a Meal
- Create a fun family dinner with cheese bombs and a build-your-own salad bar.
- Serve with grilled meats and roasted vegetables for a complete meal.
- Include in breakfast or brunch alongside eggs and fresh fruit.
Beverage Pairings
- Sparkling water with lemon or lime wedges
- Iced tea or lemonade for casual gatherings
- Hot chocolate for a cozy winter treat
- Coffee or espresso for an Italian-inspired pairing
Nutritional Information
For those who are mindful about their dietary intake, here’s an approximate nutritional breakdown per cheese bomb:
| Nutrient | Amount per Serving (1 cheese bomb) |
|---|---|
| Calories | 215 |
| Total Fat | 12g |
| Saturated Fat | 5g |
| Cholesterol | 22mg |
| Sodium | 450mg |
| Total Carbohydrates | 20g |
| Dietary Fiber | 0.5g |
| Sugars | 2g |
| Protein | 6g |
| Calcium | 8% DV |
| Iron | 6% DV |
| Vitamin A | 4% DV |
| Vitamin C | 1% DV |
Note: Values are approximate and may vary based on specific brands and exact measurements used.
The Story Behind My Cheese Bombs

I stumbled upon the concept of cheese bombs a few years ago when I was desperately searching for a quick appetizer to serve unexpected guests. With limited ingredients in my pantry, I spotted a can of Pillsbury biscuits and some cheese leftovers in my refrigerator.
What started as a necessity-driven experiment has evolved into my signature dish. Through countless iterations and taste tests (willingly conducted by my friends and family), I’ve perfected the recipe to achieve the ideal balance of flavors and textures.
The reaction is always the same: eyes widening after the first bite, followed by “You HAVE to give me this recipe!” It’s become such a staple that my friends now expect them at gatherings, and I’ve even been known to receive text messages that simply read, “Please bring the cheese bombs!”
Why Homemade Beats Store-Bought
In today’s world of convenience foods, you might wonder why you should bother making these cheese bombs when you could purchase frozen appetizers. Having tried many store-bought options, I can confidently say that homemade cheese bombs are superior in several ways:
- Freshness: The aroma and taste of freshly baked goods cannot be replicated by frozen, processed alternatives.
- Quality Control: You choose the ingredients, ensuring higher quality cheese, real butter, and fresh garlic.
- Customization: Store-bought options come in limited varieties, while homemade versions can be endlessly customized.
- Cost-Effectiveness: Making these at home costs a fraction of what you’d pay for premium frozen appetizers.
- Pride and Satisfaction: There’s something special about serving something you’ve created yourself.
Frequently Asked Questions
Over the years, I’ve received many questions about this recipe. Here are the most common ones:
Q: Can I use a different type of refrigerated dough? Yes! While Pillsbury Grands work best due to their size and texture, you can experiment with crescent roll dough, pizza dough, or even homemade biscuit dough. Just adjust the baking time accordingly.
Q: What’s the best cheese to use for the gooiest center? Low-moisture mozzarella provides that perfect, stretchy pull when melted. However, fontina, Monterey Jack, and young cheddar also melt beautifully.
Q: My cheese keeps leaking out during baking. What am I doing wrong? Make sure you’re completely sealing the dough around the cheese. Roll the ball between your palms to ensure there are no weak spots or seams. Also, using cold cheese straight from the refrigerator (rather than room-temperature cheese) helps prevent premature melting.
Q: Can I make these for someone with garlic sensitivity? Absolutely! You can omit the garlic entirely and focus on herbs instead, or use garlic-infused oil (which doesn’t contain the compounds that typically cause sensitivity) in place of minced garlic.
Q: Are these suitable for vegetarians? The standard recipe is vegetarian-friendly. Just be mindful of the cheese you choose, as some varieties use animal rennet. Look for cheeses labeled as vegetarian or made with microbial rennet.
Q: How can I make these ahead for a party? See the “Make-Ahead and Storage Tips” section above for detailed instructions on preparing these in advance.
Q: Can I air-fry these cheese bombs instead of baking them? Yes! Air-fry at 330°F (165°C) for about 6-8 minutes. Check frequently to avoid over-browning, as air fryers can cook more quickly than conventional ovens.
Q: Are these freezer-friendly? Absolutely! See the storage table above for specific freezing and reheating instructions.
Conclusion
These Pillsbury Biscuit Garlic Butter Cheese Bombs have become my signature appetizer for good reason – they’re simple yet impressive, comforting yet special, and they never fail to delight everyone who tries them. With just a handful of ingredients and minimal effort, you can create a taste sensation that will have your guests thinking you spent hours in the kitchen.
Whether you’re hosting a gathering, contributing to a potluck, or simply treating your family to something special, these cheese bombs are guaranteed to be a hit. The combination of flaky biscuit dough, gooey melted cheese, and aromatic garlic butter creates an irresistible bite that embodies comfort food at its finest.
So go ahead, give this recipe a try, and prepare to be bombarded with compliments and recipe requests. Just don’t be surprised when these little morsels become your most requested contribution to every gathering!

